Hone Your Balance with a Slackline
Hone Your Balance with a Slackline
first published November 2016
Slacklining Develops Coordination and Core Strength
If you’re a rock climber, you have probably heard of slacklining before. If you are not a rock climber, you are probably wondering what in the world I am talking about. Most likely it’s not what you’re thinking about.
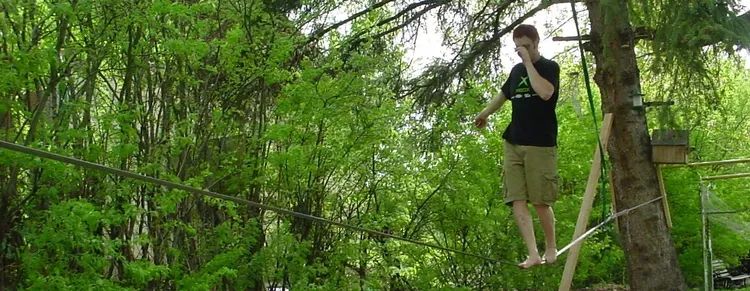
Slacklining can be compared to tight rope walking. In fact, that’s basically what it is with a few distinct differences. When you walk on a slackline, you balance along a thin piece of webbing in hopes of getting to the other end without falling.
The Equipment You Need
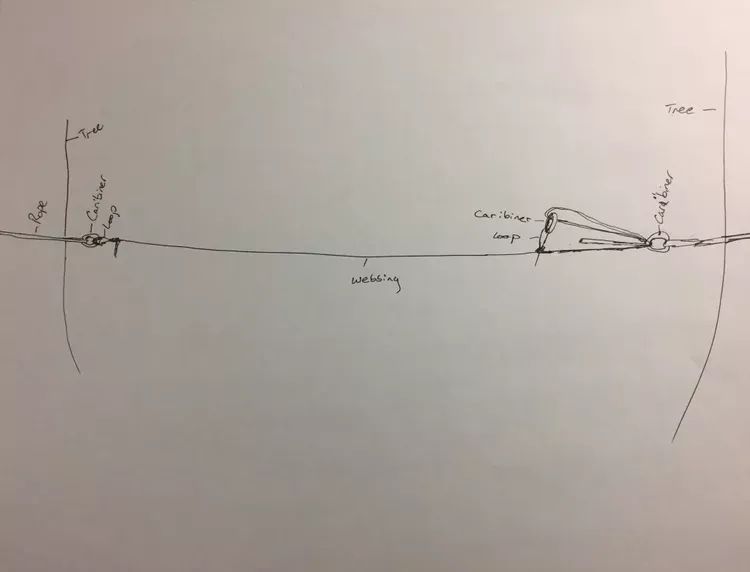
The most important equipment is going to be your tie-off points. Two trees, about 20 feet apart work wonderfully for this. Although you can set up your own with a trailer hitch, a large post in the ground, or even a cliff.
Between those two trees, you run a piece of webbing. Webbing, despite the name, is not actually webbed. It’s a thin piece of material that is incredibly strong. Climbers have been using it for decades to help protect them from falls. You need about 10 feet longer than the distance between your trees.
On each tree you need another piece of webbing or old rope. I have used a cut piece of rope that I no longer used for climbing; just make sure it’s a static rope and not a dynamic rope.
You will need several carabiners. At least 3 of them; 5 if you want to be safer.
Setting Up Your Slackline
It’s a bit difficult to tell you how to set up the slackline, so pictures would be the best way to do it. Essentially, you want your line to be pulled tight. No matter how tight you get it, however, it’s still going to sag a little bit (have some slack). That’s ok, that’s part of the challenge.
One end of the slackline you can tie a knot and attach it to the piece of rope. On the other end, you need a way to tighten the line. If you have some ratchet straps, those will work. But for those without, then you do have some options where you double back on the line. Check out this sweet diagram to understand.
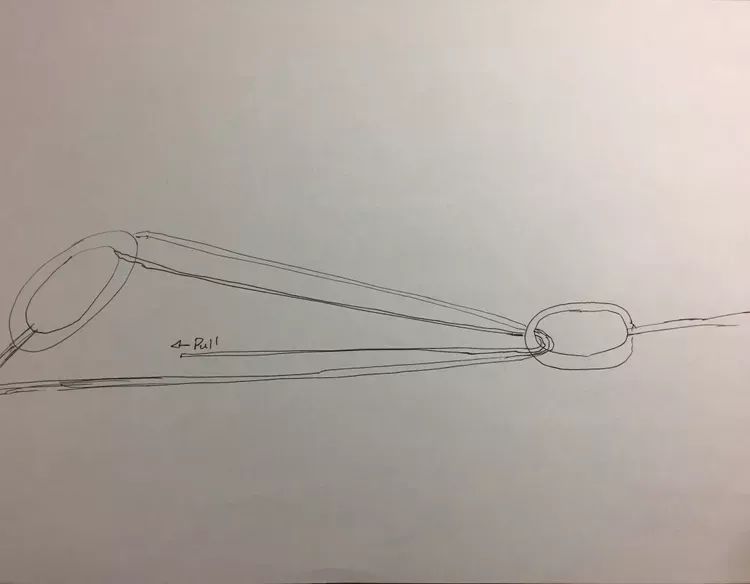
Clear as mud? Probably. Here’s a little clearer diagram of the doubled back system (the webbing will pinch itself as it doubles back and keep tight), and below this article is a video on how to set up a primitive slackline, that might clear things up a little more.
Walking Your Line
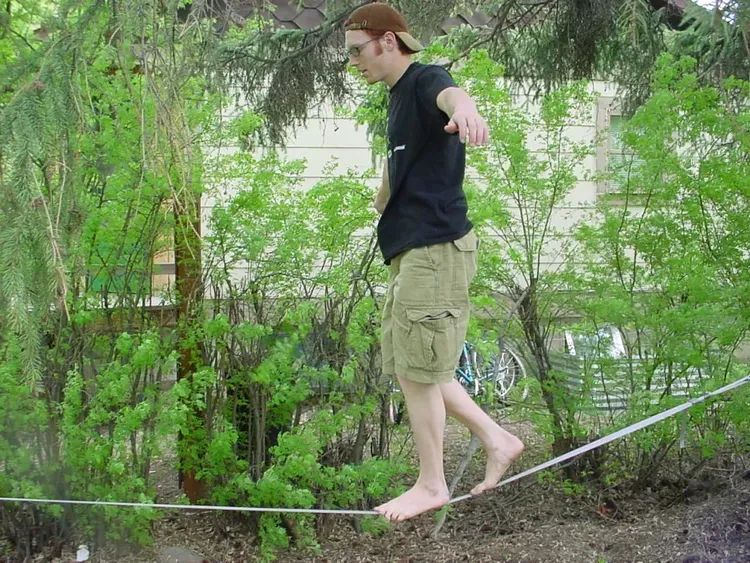
Now that you’ve struggled through setting up the slackline, it’s time to have some fun! You may need a ladder or a chair to get on, and then try to walk to the other end. You will likely get about 3 steps, maybe only 1 or 2, before you fall when you first try it. If you didn’t break an arm or a leg, hop back up and try again! Eventually you will get to where you can walk down and back, lay down on the line, jump, and do some other tricks. As you keep trying your balance and your core strength will keep getting better and better. Now check out this sweet picture of me in college walking the line we set up in the yard.
Have you walked a slackline?